Today, we begin our week full of ideas! This weekend treated us well. It sparked our creativity and especially our curiosity.
Inspiration and curiosity are related, but often disconnected from each other. I personally find that being inspired is easy: all you have to do is look for it. But curiosity itself is something that’s a bit tougher to ignite naturally. In this world, it is so easy to get caught up in doing things systematically, and end up staying in your bubble (or your “comfort zone”), even when you are doing a job that is supposed to be creative. You tend to get stuck looking for the same things when you are trying to get inspired, so you end up doing the same type of things and sticking with a repetitive pattern, even when you think that you are always creating “new” things. Which is not bad, but there’s a lack of child-like exploration in the process. We don’t often take time to just observe something, analyse it and experiment with it. To be curious enough about something to let it come into our lives and maybe even create something that is absolutely not what we are used to creating, maybe even using tools that we have never used before. This is where the true magic happens.
Curiosity is usually about questioning something, like walking in a forest, looking at a pile of dead branches and thinking: “Hm, that’s interesting, what if I would build something out of these branches“? It’s about questioning things even if they are not in your domain of expertise, or your comfort zone. In my case, my logic would tell me: “But hold on, I’m more into drawing, not building, so why in the world would I be interested in doing that?“. The power of true curiosity is that it beats logic. It goes off the beaten tracks, and allows you to embrace and explore those questions fully.
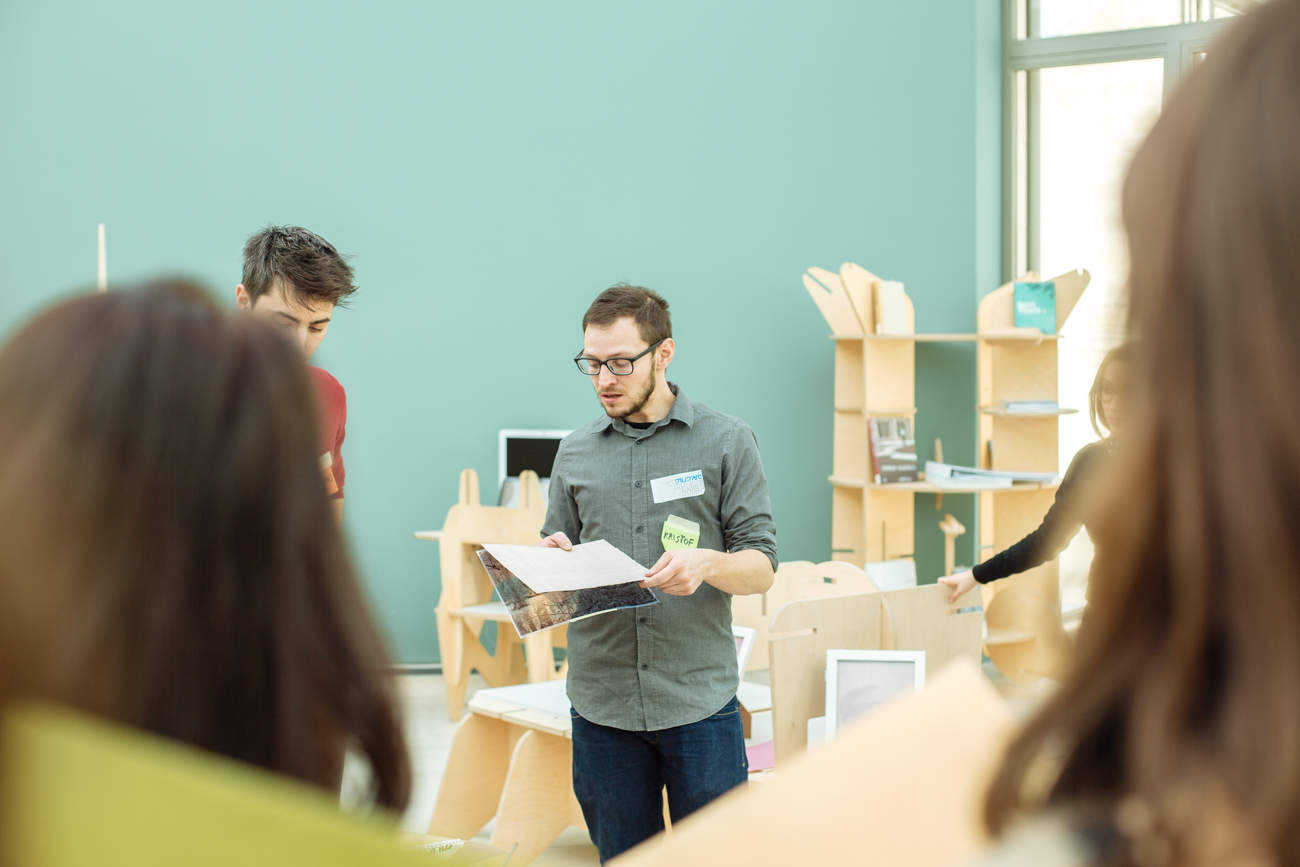
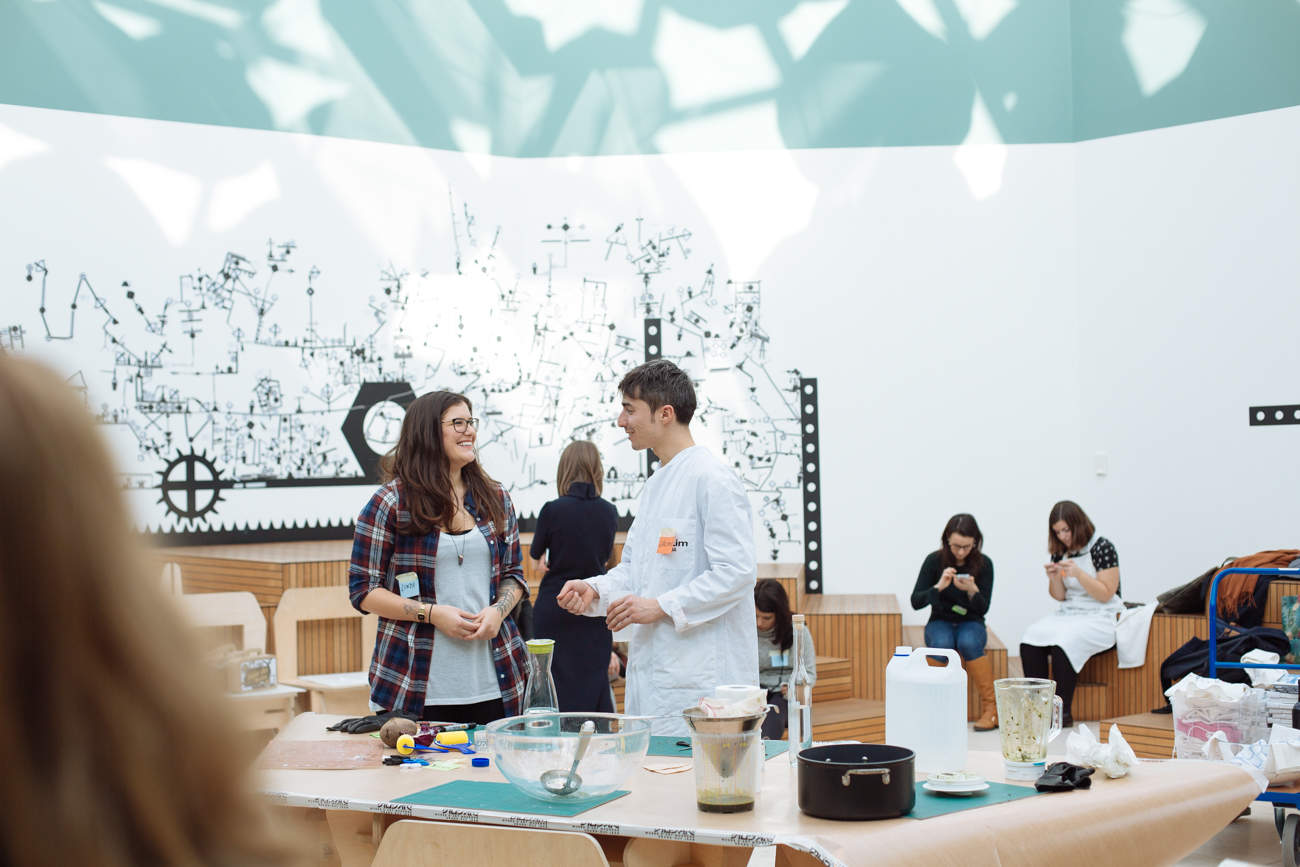
So, to cut short on this long introduction, and to get to the highlight of our weekend: On saturday we attended a wonderful workshop which was led by curious and creative people, Kristof Vrancken & Giacomo Piovan. Kristof Vracken is a photographer who has spent a while experimenting with analog and digital photography techniques. One of this main questionings around this process was: is there a way that I can develop photos in a non-toxic, all natural and sustainable way? The answer to this question is using vegetable inks, which can be made from scratch. During the workshop, we got the opportunity to be taken out of our comfort zone and explore this really awesome process.

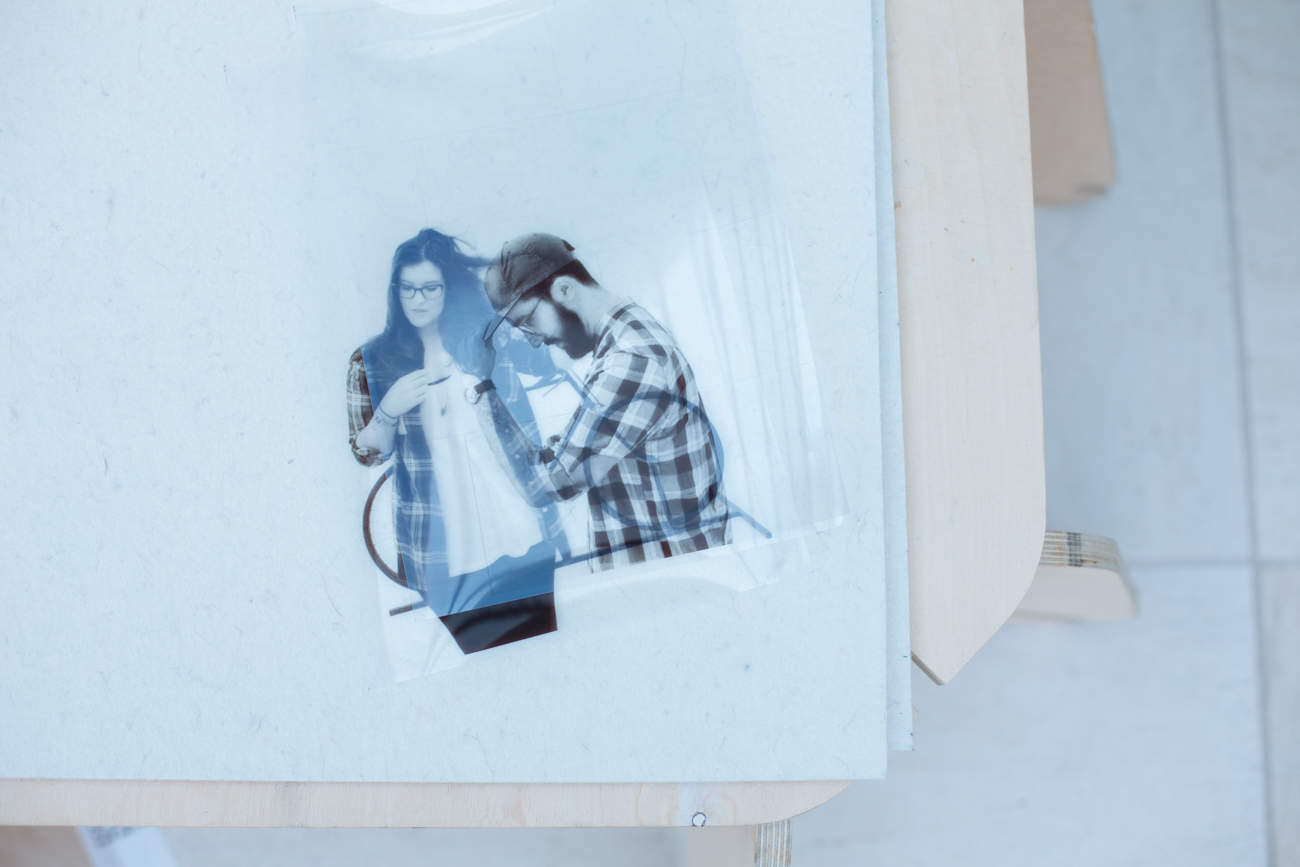
David and I are quite interested in photography, and we include it in many of our projects. I love how photography can be used for story-telling and documenting life. But when we think about our process itself, it’s usually quite a sterile experience, as everything is digital and photographs get exported from one screen to another. Learning to develop photos in an analog and old-school way can make this process more manual and magical, but what if you go even further and do it with vegetables?
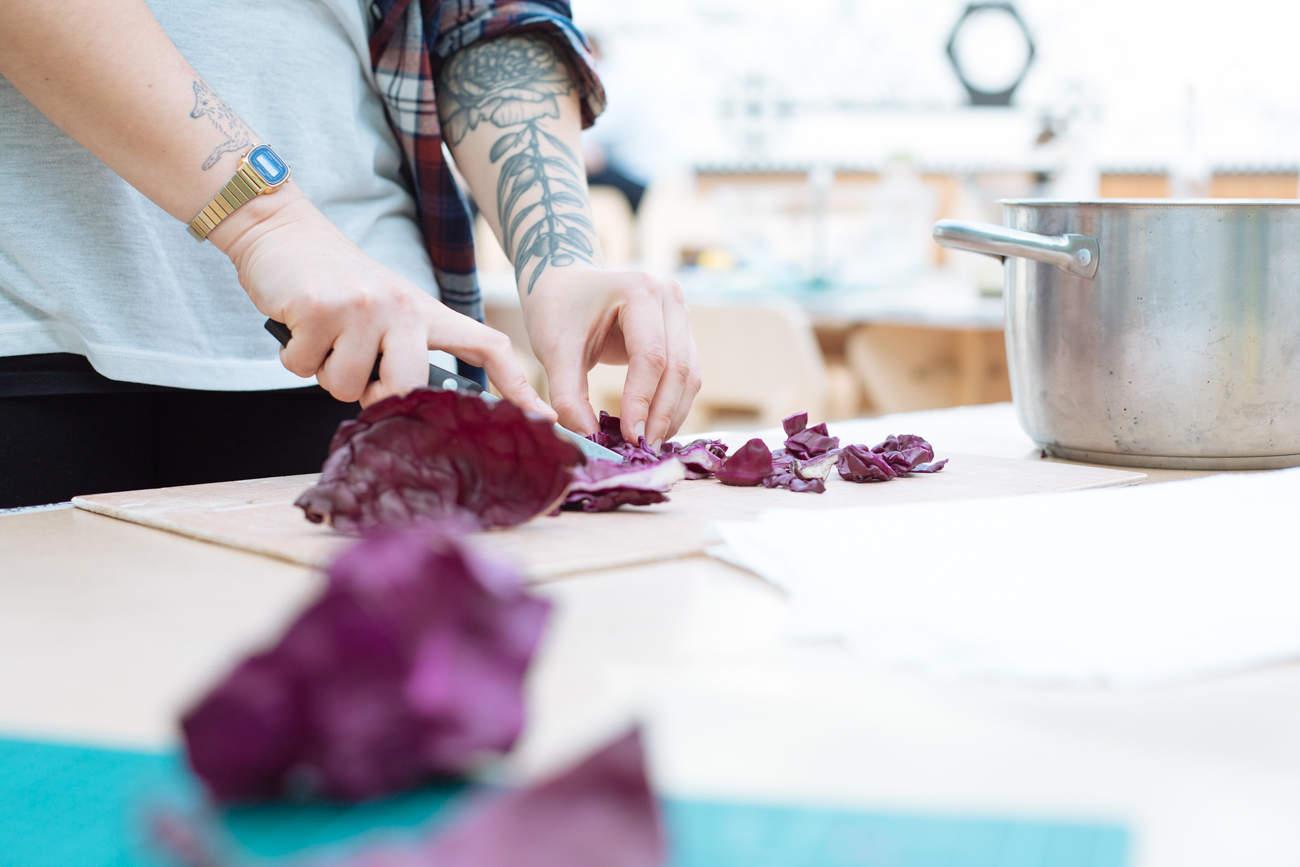
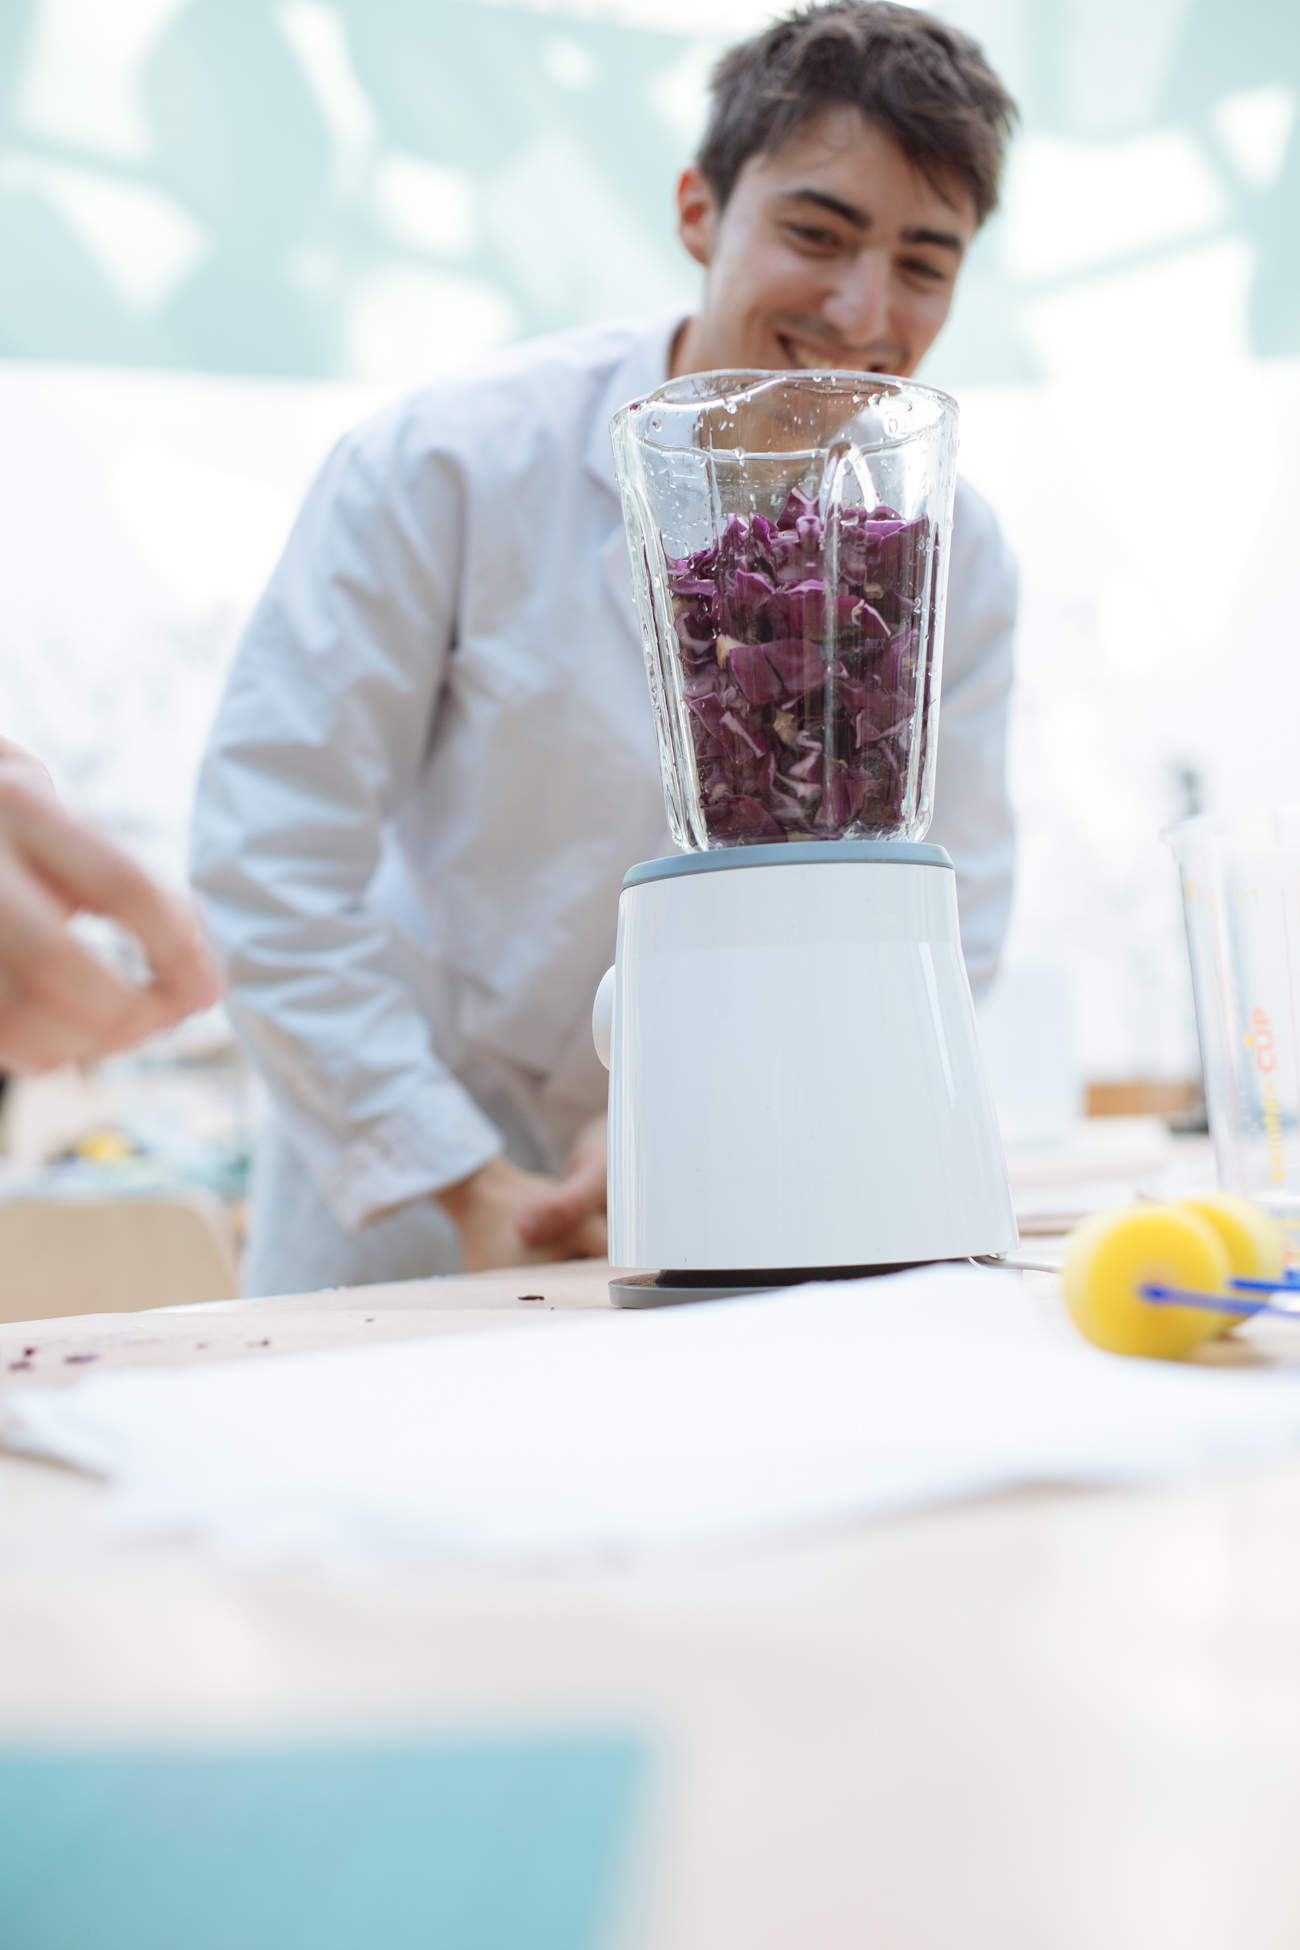
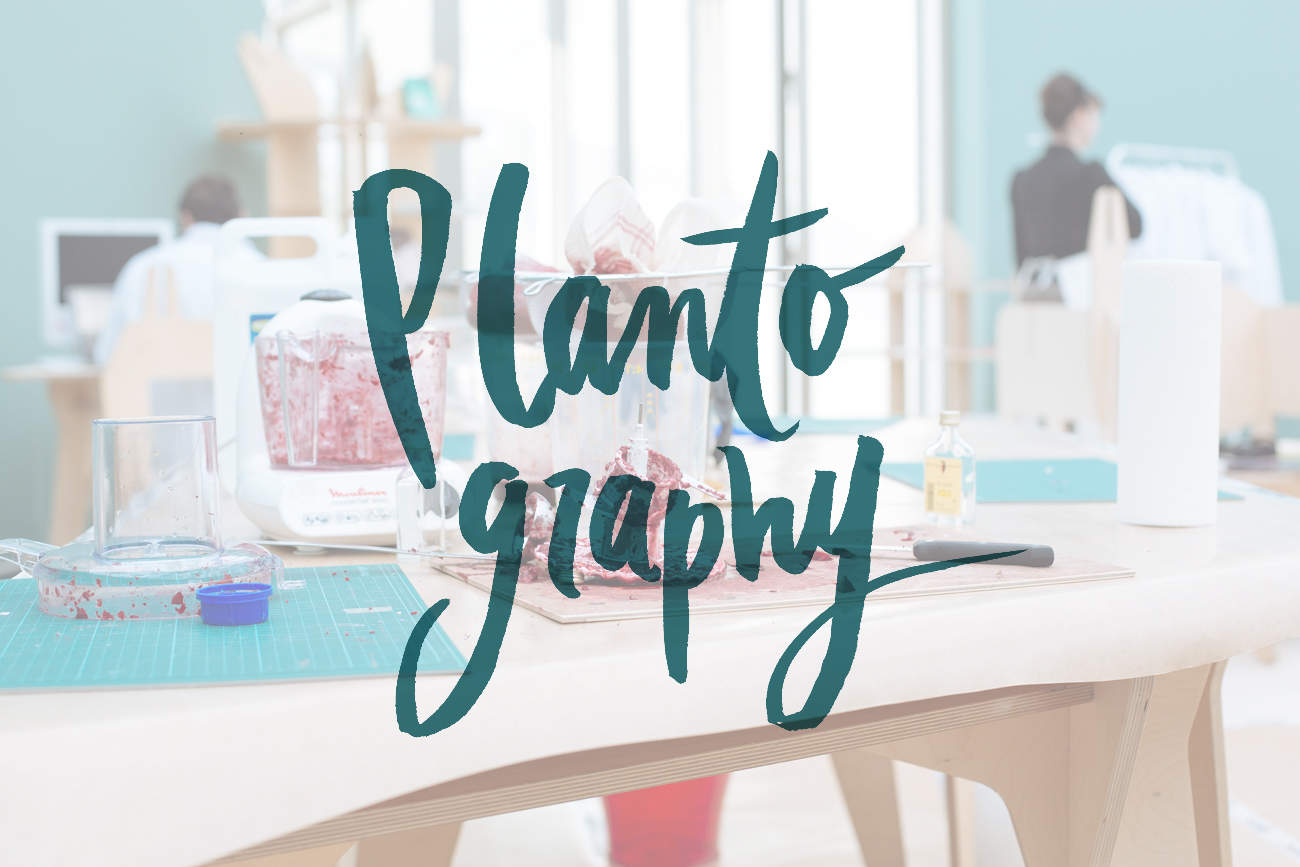
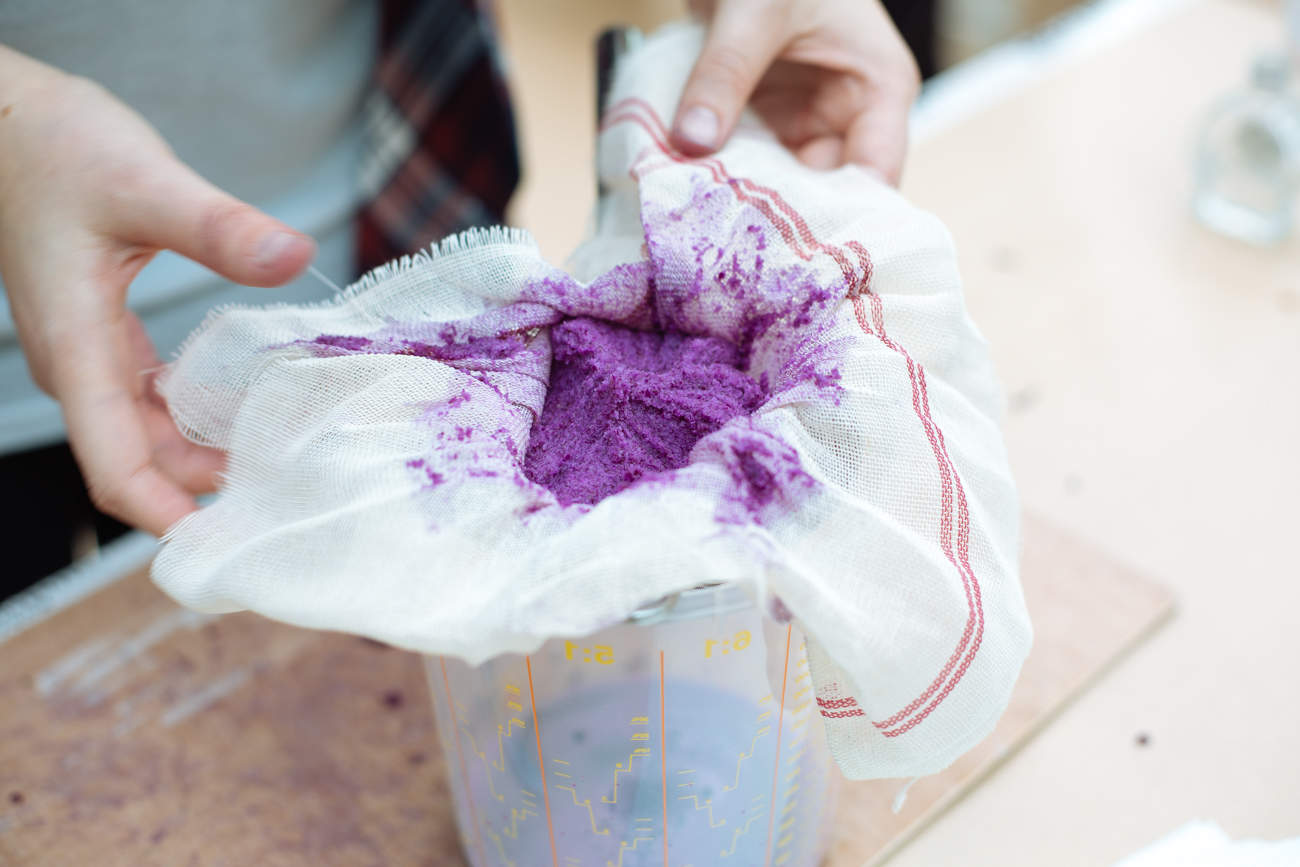
Vegetables and plants were used for centuries as natural dyes. Plants have pigments, and have photosensitive properties, which is actually great for developing photographs! We got to use beetroots to make a potent fuchsia ink, nettles to make a bright green one, and surprisingly, red cabbage generated a beautiful purple-blue tone. The process was pretty simple, as we simply blended them up with a bit of water and alcohol, then strained the mixture through a sieve & cheese cloth.
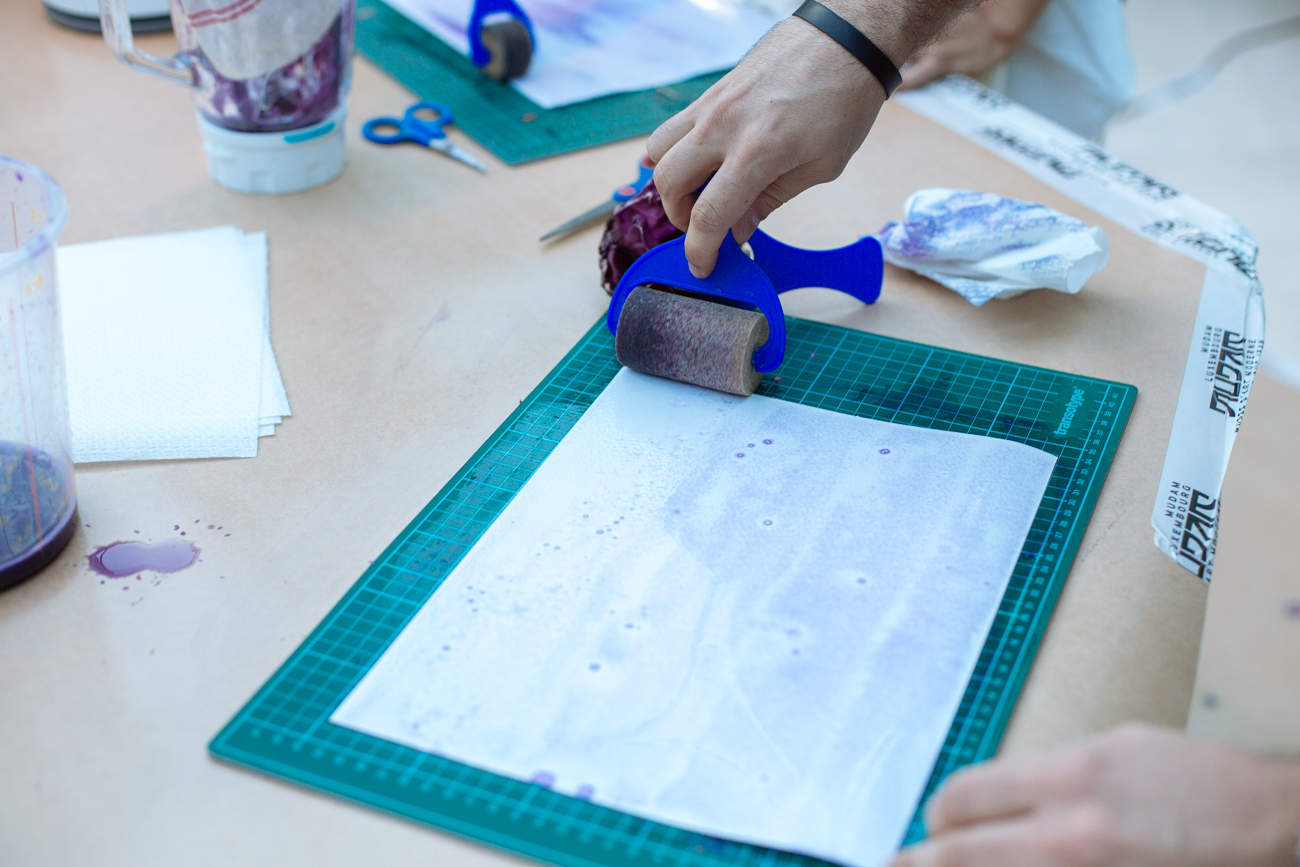
We then used these inks and spread a few layers of them onto thick paper. It was interesting to see that plants produce inks of different densities. The beetroot ink was so potent that it didn’t need a lot of layering up, but the purple cabbage ink needed plenty of it, as it was quite transparent. We then hung the coloured papers to dry.

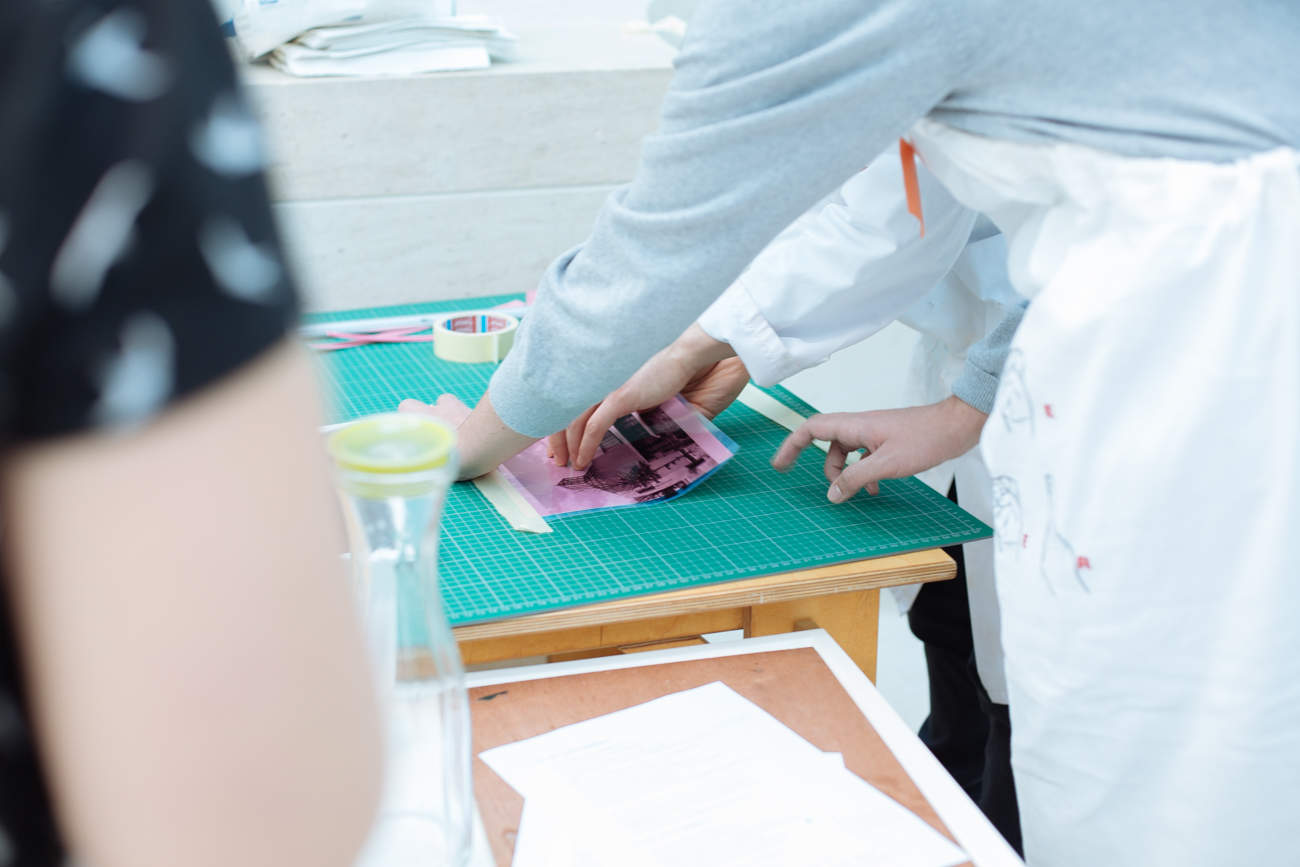
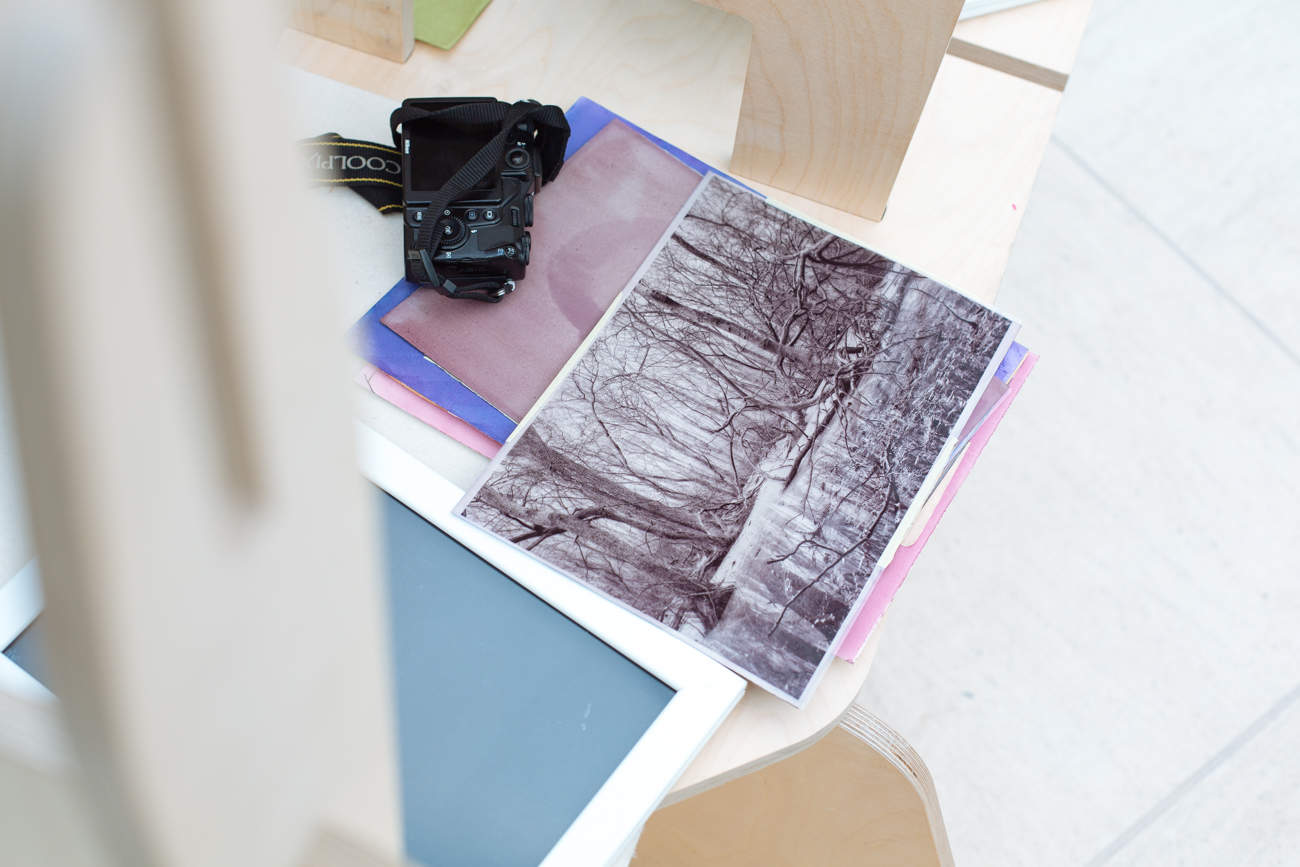
We printed out our photographs on photo paper, and layered them over the coloured paper, in a frame. By simply layering the two, and exposing the frame to strong sunlight for a few months, the colors will react, lighten and darken. We will now have to wait for a good amount of sunshine and then put our frame next to a bright window for a couple of months or so. I am looking forward to see the results! Unfortunately David and I forgot to take a photo of Kristof Vrancken’s original experiment to show you how it’s supposed to look like, but I’m hoping we can post a link to it sometime so you can check it out. The result is very subtle and dreamy. Where the photo transfer paper was layered on, the background colors change and come into life beautifully.
I’m hoping that these guys will organize a few more rounds of this workshop, as I highly recommend it to anyone who wants to explore their creativity and discover new manual techniques. If not, an idea of mine is to eventually collaborate with them and post a complete DIY post on how to do plantography at home. What do you think? Would you be interested in that? 🙂

